How to Create Professional Headshots From Regular Photos Using AI
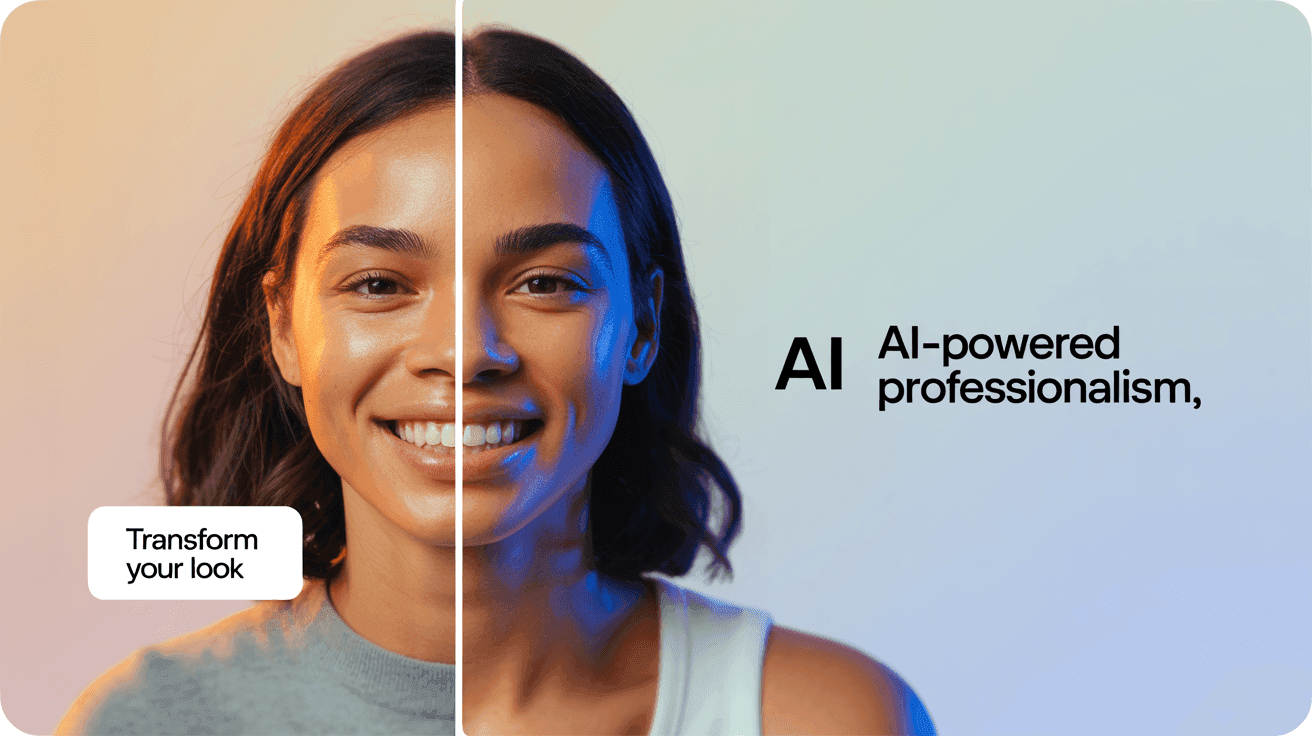
Table Of Contents
- Understanding Professional Headshots
- Selecting the Right Photo to Start With
- Essential Preparation Steps
- Using AI to Enhance Your Photos
- Post-Processing Techniques
- Common Mistakes to Avoid
- Before and After Examples
- Final Tips for Professional Results
How to Create Professional Headshots From Regular Photos Using AI
Professional headshots can cost hundreds of dollars when shot by a photographer, but what if you could transform your existing photos into polished, professional-looking portraits? With modern AI-powered image enhancement technology, you can elevate ordinary pictures into impressive headshots without expensive equipment or professional photography sessions.
In this comprehensive guide, we'll walk you through the process of creating professional-quality headshots from regular photos using AI enhancement tools. Whether you need an updated LinkedIn profile, a photo for your company website, or professional portraits for your team, these techniques will help you achieve remarkable results without breaking the bank.
Understanding Professional Headshots
Before diving into the transformation process, it's important to understand what makes a headshot truly "professional." Professional headshots typically feature:
- Clear, sharp focus on the face
- Flattering, even lighting without harsh shadows
- Clean, non-distracting backgrounds
- Appropriate framing (usually from shoulders up)
- Natural, confident expression
- High-resolution image quality
- Subtle, natural-looking retouching
The goal of our enhancement process is to incorporate these qualities into your existing photos, making them suitable for professional use.
Selecting the Right Photo to Start With
The success of your enhanced headshot begins with selecting an appropriate base photo. Not every casual photo will make a good candidate for transformation.
Look for photos that already have these characteristics:
- Your face is clearly visible and in focus
- The lighting is relatively even (avoid harsh shadows across the face)
- You have a natural, pleasant expression
- The image has decent resolution (at least 500px wide)
- The background isn't overly busy or distracting
- You're appropriately dressed for your professional context
Remember, while AI enhancement can work wonders, starting with the best possible source material will yield superior results. A blurry, poorly lit photo taken in dim lighting will be challenging to transform convincingly, even with advanced tools.
Essential Preparation Steps
Before applying AI enhancement, take these preliminary steps to prepare your photo:
-
Crop appropriately: Professional headshots typically show the head and shoulders. Crop your photo to focus on this area while maintaining proper composition.
-
Check the orientation: Ensure your face is properly aligned. Your eyes should be level with the horizon.
-
Remove obvious distractions: If your photo has minor distractions that can be easily removed with basic editing tools, address these before AI enhancement.
-
Save a copy of the original: Always preserve your original photo before making any adjustments, allowing you to start over if needed.
Using AI to Enhance Your Photos
AI-powered image enhancement is where the real transformation happens. Modern AI tools can dramatically improve image quality in ways that were impossible just a few years ago.
Upscaling Resolution
One of the most important aspects of a professional headshot is high resolution. Low-resolution images appear pixelated and unprofessional, especially when viewed on larger screens.
Mind Render AI's upscaling technology can significantly increase your photo's resolution without the blurriness or artifacts common in traditional enlargement methods. The platform uses advanced neural networks to intelligently add detail and sharpness while preserving the natural characteristics of your face.
To upscale your headshot effectively:
- Upload your cropped image to Mind Render AI
- Select the appropriate upscaling option (typically 2x or 4x depending on your starting resolution)
- Choose the "Portrait" or "Face" enhancement option if available
- Process the image and download the high-resolution result
Unlike other online tools, Mind Render AI processes your photos securely in the browser without storing them permanently on their servers, ensuring your professional images remain private.
Improving Facial Details
AI enhancement can significantly improve facial details that make headshots look professional. These include:
- Enhancing eye clarity and detail
- Improving skin texture while maintaining a natural look
- Sharpening facial features like eyebrows and lips
- Preserving natural skin tone and complexion
The key is achieving enhancement without crossing into the "uncanny valley" territory where faces look artificially processed. Mind Render AI's technology excels at maintaining natural-looking results while improving clarity and detail.
Enhancing Lighting and Contrast
Proper lighting is crucial for professional headshots. AI enhancement can help balance lighting issues in your original photo:
- Fix uneven lighting: AI can balance shadows and highlights across your face
- Enhance contrast: Subtle contrast adjustments can make features pop without looking overdone
- Correct exposure issues: Photos that are slightly too dark or too bright can be optimized
- Add subtle dimension: Professional lighting creates gentle shadows that add depth to facial features
Mind Render AI's enhancement algorithms analyze the lighting patterns in your photo and make intelligent adjustments that mimic professional studio lighting setups.
Post-Processing Techniques
After AI enhancement, some additional adjustments can further refine your headshot.
Background Adjustments
The background plays a significant role in professional headshots. You have several options:
- Subtle blurring: Slightly blurring the background helps bring focus to your face
- Background replacement: For completely distracting backgrounds, consider replacing them with a neutral color or subtle gradient
- Vignette effect: A gentle darkening around the edges draws attention to the center of the image
For more background editing techniques and advanced tutorials, check out Mind Render AI's guides which offer detailed instructions for achieving professional results.
Color Correction
Color plays a crucial role in creating a polished, professional appearance:
- White balance adjustment: Ensure skin tones look natural by correcting any color casts
- Color grading: Subtle adjustments to create a consistent, professional look
- Saturation control: Slightly reducing saturation often creates a more sophisticated appearance
Aim for natural, true-to-life colors rather than heavily filtered or stylized effects, which aren't appropriate for professional headshots.
Professional Retouching
The final stage involves subtle retouching to address minor imperfections while maintaining a natural appearance:
- Reduce temporary skin blemishes: Remove pimples or temporary marks
- Minimize under-eye shadows: Gently reduce the appearance of tiredness
- Soften harsh wrinkles: While keeping natural expression lines
- Remove distracting elements: Like stray hairs across the face
The key word here is "subtle" – professional headshots should look like you on your best day, not an artificially perfect version of yourself. Over-retouching is immediately noticeable and defeats the purpose of a professional representation of yourself.
Common Mistakes to Avoid
When creating professional headshots from regular photos, avoid these common pitfalls:
- Over-smoothing skin: This creates an artificial, plastic-looking appearance
- Excessive teeth whitening: Natural teeth are rarely perfectly white
- Unrealistic eyes: Over-enhancing eyes can create an uncanny, doll-like appearance
- Heavy-handed filters: Instagram-style filters look unprofessional in business contexts
- Inconsistent lighting: Ensure AI enhancements don't create unrealistic lighting patterns
- Warped or distorted features: Check carefully for any unnatural warping from AI processing
The most successful AI-enhanced headshots maintain the natural characteristics that make you recognizable while optimizing image quality and presentation.
Before and After Examples
To understand the potential of AI enhancement for creating professional headshots, consider these transformation scenarios:
Scenario 1: Improving a casual smartphone photo A standard smartphone selfie with decent lighting can be transformed by:
- Upscaling the resolution
- Evening out skin tones
- Slightly blurring the background
- Adjusting the crop to follow professional headshot conventions
Scenario 2: Enhancing an older professional photo An existing professional photo that's lower resolution can be refreshed by:
- Significantly increasing resolution and sharpness
- Modernizing the color grading
- Enhancing details lost in the original
Scenario 3: Transforming a group photo crop A well-lit image cropped from a group photo can become professional by:
- Upscaling to compensate for the crop
- Creating a more neutral background
- Enhancing facial details lost in the original wider shot
For more examples of dramatic before-and-after transformations, visit Mind Render AI's downloads section, which features sample images showcasing the platform's capabilities.
Final Tips for Professional Results
To achieve the most professional results possible:
-
Dress appropriately in your original photo: AI can enhance image quality but can't change your clothing
-
Consider your industry standards: Different professions have different expectations for headshot styles
-
Be consistent across platforms: Use the same enhanced headshot across all your professional profiles
-
Update regularly: Refresh your professional headshot every 1-2 years or when your appearance changes significantly
-
Get feedback: Ask colleagues or friends if your enhanced headshot accurately represents you professionally
-
Use appropriate file formats: Save your final headshot as a high-quality JPG or PNG file
-
Create multiple crops: Prepare versions optimized for different platforms (square for some social media, wider formats for others)
Remember that Mind Render AI's subscription-based service offers Professional and Premium tiers with rollover credits that don't expire, giving you flexibility to enhance multiple photos as your professional needs evolve.
Conclusion
Transforming regular photos into professional headshots is now more accessible than ever, thanks to advances in AI image enhancement technology. By carefully selecting your starting image, applying AI upscaling and enhancement, and following professional post-processing techniques, you can create headshots that rival professionally photographed portraits.
Mind Render AI provides the tools you need to achieve these transformations without sacrificing privacy or image quality. The platform's server-side processing capabilities mean you don't have to keep your browser open during processing, and the credit-based system ensures you only pay for successful enhancements.
Whether you're updating your LinkedIn profile, creating a consistent look for your team's website, or preparing materials for professional presentations, these techniques will help you put your best face forward without the expense of a professional photography session.
Ready to transform your photos into professional headshots? Sign in to Mind Render AI and start enhancing your images today with our powerful AI technology.