The Complete Guide to Creating and Enhancing 360-Degree Product Photography
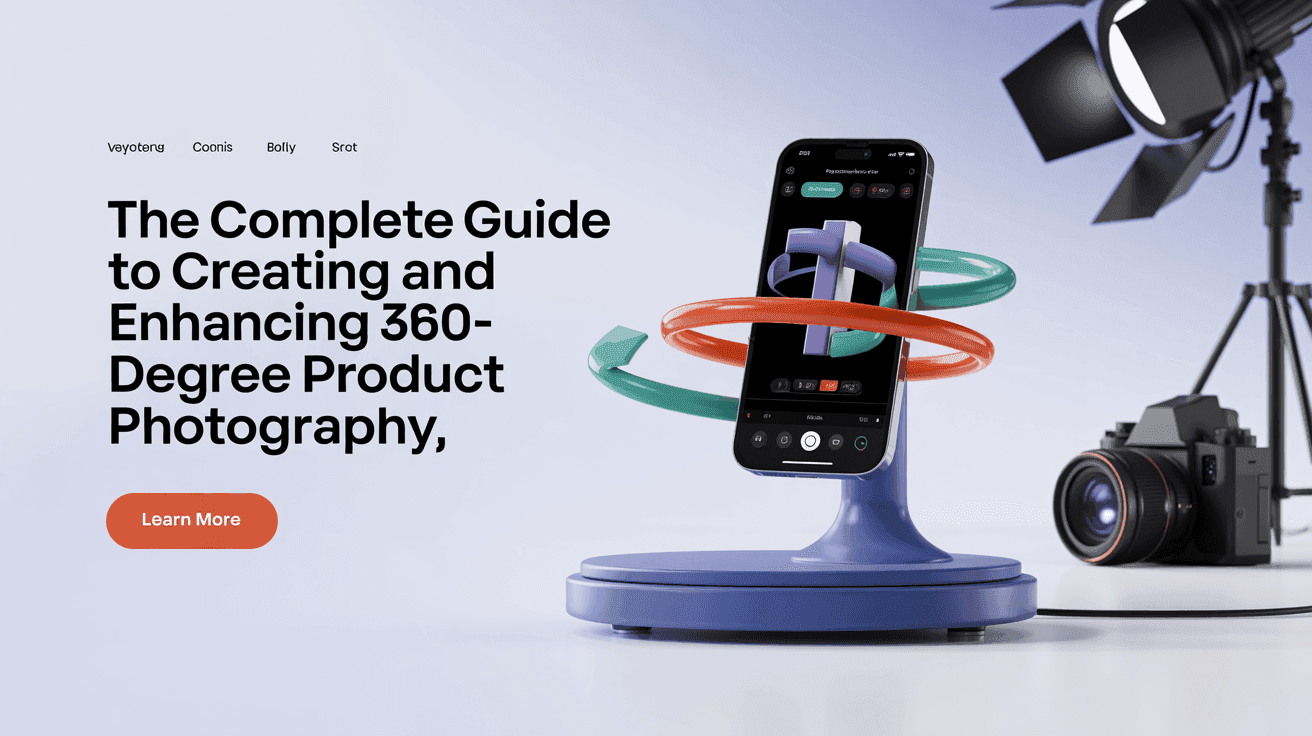
Table Of Contents
- Understanding 360-Degree Product Photography
- Essential Equipment for 360-Degree Photography
- Setting Up Your 360-Degree Photography Studio
- Step-by-Step Shooting Process
- Post-Processing 360-Degree Product Images
- Enhancing 360-Degree Images with AI Technology
- Common Challenges and Solutions
- Displaying 360-Degree Product Photos Online
- Measuring the Impact of 360-Degree Photography
- Conclusion
The Complete Guide to Creating and Enhancing 360-Degree Product Photography
In today's competitive e-commerce landscape, standard product photography no longer suffices to capture consumer attention. 360-degree product photography has emerged as a powerful tool for online retailers, providing customers with an immersive, interactive experience that closely mimics in-store shopping. Studies show that products with 360-degree views can increase conversion rates by up to 30% compared to static images.
While 360-degree photography delivers impressive results, it also presents unique challenges in capturing, processing, and optimizing multiple high-quality images. The difference between amateur and professional 360-degree product photography often comes down to image quality, consistency, and enhancement techniques.
This comprehensive guide will walk you through every aspect of creating stunning 360-degree product photography—from essential equipment and studio setup to capturing techniques and post-processing workflows. We'll also explore how advanced AI upscaling technology can transform your 360-degree images into ultra-high-resolution assets that showcase every product detail with remarkable clarity.
Understanding 360-Degree Product Photography
360-degree product photography, also known as spin photography, involves capturing a series of images of a product from different angles around its perimeter. These images are then stitched together and presented in a way that allows viewers to rotate the product and view it from all sides. Unlike traditional product photography that provides only predetermined angles, 360-degree photography gives customers complete control over how they view the product.
The technology behind 360-degree photography has evolved significantly over the years. Early implementations required specialized equipment and complex software, but today's solutions make it accessible to businesses of all sizes. The fundamental principle remains the same: capture consistent images at regular intervals around the product to create a seamless rotating view.
There are typically two approaches to 360-degree product photography:
-
Turntable method: The product is placed on a rotating platform, and the camera remains stationary, taking photos at set intervals as the platform rotates.
-
Camera rotation method: The product remains stationary while the camera moves around it in a perfect circle, capturing images at regular intervals.
For most product photography applications, the turntable method is more practical, controllable, and delivers more consistent results.
Essential Equipment for 360-Degree Photography
Creating professional 360-degree product photography requires specific equipment to ensure consistency and quality across all frames. Here's what you'll need:
Camera Equipment
A DSLR or mirrorless camera with manual controls is essential for 360-degree photography. Key camera specifications to consider include:
- Resolution: Higher megapixel counts (24MP+) provide more detail and allow for greater flexibility in post-processing.
- Manual controls: The ability to lock exposure, white balance, and focus is critical for consistency across frames.
- Tethering capability: Direct connection to a computer can streamline the shooting process and allow for immediate review.
Pair your camera with a high-quality lens—typically a 50-100mm focal length works best for product photography, providing natural perspective with minimal distortion.
Turntable Equipment
The cornerstone of 360-degree product photography is a reliable turntable system:
- Motorized turntable: Ensures smooth, consistent rotation with precise stopping points for each frame.
- Weight capacity: Choose a turntable that can easily support your heaviest products.
- Rotation control: Look for systems with adjustable speed and the ability to preset stopping points (typically 24-36 stops for a complete rotation).
Many professional systems include integrated software that synchronizes the turntable rotation with camera triggering for a fully automated workflow.
Lighting Equipment
Consistent lighting is perhaps the most critical element in 360-degree photography:
- Continuous lighting: LED panels or studio strobes with modeling lights help maintain consistent illumination across all frames.
- Diffusion materials: Softboxes, umbrellas, or light tents minimize harsh shadows and reflections.
- Light stands with boom arms: Allow for precise positioning of lights without creating shadows in the frame.
Avoid natural light for 360-degree photography, as even subtle changes in lighting can create noticeable inconsistencies between frames.
Supporting Equipment
Additional items that will improve your 360-degree photography workflow include:
- Tripod: A sturdy tripod with a ball head for precise camera positioning.
- Remote trigger: Reduces camera shake and can be integrated with automated systems.
- Color calibration tools: A color checker card ensures consistent color reproduction across all images.
- Backdrop materials: Seamless paper or fabric in neutral colors (typically white, black, or gray).
Setting Up Your 360-Degree Photography Studio
Creating an effective studio setup is crucial for producing high-quality 360-degree product images. Follow these guidelines to establish an optimal shooting environment:
Space Requirements
Set aside a dedicated space for your 360-degree photography. Ideally, this space should:
- Be at least 10 feet by 10 feet to accommodate equipment and provide working room
- Have controllable lighting (blackout curtains or no windows is preferable)
- Have stable power outlets for all equipment
- Feature neutral-colored walls to minimize color casts
Background Configuration
A clean, distraction-free background ensures viewers focus solely on your product:
- Use a seamless background that curves beneath the product to eliminate horizon lines
- Choose white backgrounds for most products to create a clean, professional look
- Consider using a light tent for small, reflective items to control reflections
- Ensure the background extends beyond the camera's field of view in all directions
Lighting Setup
The ideal lighting arrangement for 360-degree photography involves creating even, shadow-free illumination:
- Position two main lights at 45-degree angles to the product, slightly elevated
- Add fill lights or reflectors to eliminate shadows as the product rotates
- Consider additional accent lighting to highlight specific product features
- Test the lighting by rotating the product to ensure consistency at all angles
For transparent or highly reflective products, consider using a light tent with external lighting to create even illumination while minimizing unwanted reflections.
Camera and Turntable Placement
The relative positioning of your camera and turntable is critical:
- Place the camera on a tripod at product height, perfectly level
- Position the turntable so the product's center aligns with the camera's optical axis
- Ensure the camera is far enough away to capture the entire product with minimal distortion
- Use a plumb line or laser level to verify that the camera is perfectly aligned with the center of the turntable
Step-by-Step Shooting Process
Follow this systematic approach to capture consistent, high-quality 360-degree product images:
Pre-Shooting Preparation
Before starting your photography session:
- Clean the product thoroughly to remove dust, fingerprints, or smudges
- Position the product precisely in the center of the turntable
- Use small props or museum gel to stabilize the product during rotation
- Take test shots from multiple angles to identify potential issues
Camera Settings Configuration
Optimal camera settings for 360-degree product photography include:
- Mode: Manual exposure mode to ensure consistency
- Aperture: f/8 to f/11 for good depth of field without diffraction
- ISO: Lowest native setting (typically 100) to minimize noise
- Shutter speed: 1/60 or faster when using continuous lighting
- White balance: Custom white balance using a gray card
- Focus: Manual focus, locked after initial setup
- File format: RAW for maximum post-processing flexibility
Capturing the Sequence
When shooting your 360-degree sequence:
- Determine the number of frames needed (24-36 frames provide a smooth rotation)
- Set the turntable to rotate in equal increments between shots
- Use a remote trigger or tethered shooting to minimize camera movement
- If shooting manually, mark turntable positions with tape for consistency
- Review images periodically during the shoot to catch any issues
Quality Control During Shooting
Implement these quality control measures during your shoot:
- Check the first few frames at 100% magnification to verify focus and exposure
- Look for unwanted shadows or reflections that appear as the product rotates
- Ensure the product doesn't shift position during rotation
- Confirm consistent framing and product centering throughout the sequence
When shooting multiple products, create a checklist and naming convention to keep your workflow organized and ensure consistency across all products.
Post-Processing 360-Degree Product Images
Effective post-processing is essential to transform your raw captures into a cohesive, professional 360-degree product presentation:
Batch Processing Fundamentals
Start by applying these basic adjustments to all images in your sequence:
- Import all images into your preferred editing software (Adobe Lightroom, Capture One, etc.)
- Apply lens corrections to eliminate distortion and vignetting
- Make global adjustments to white balance, exposure, and contrast
- Sync these settings across all images in the sequence
Consistency is paramount—even small variations in processing between frames will be noticeable in the final 360-degree view.
Background Removal and Refinement
Create a clean, professional look by properly managing the background:
- Remove the background or make it pure white (255,255,255) for most product applications
- Ensure consistent edge treatment across all frames
- Pay special attention to semi-transparent areas and fine details like hair or fabric
- Create clean, natural shadows (either retained from the original shot or added consistently)
For complex products, consider using specialized background removal tools that can batch process images with similar characteristics.
Color Correction and Enhancement
Accurate color representation is crucial for product photography:
- Color-correct to match the product's actual appearance
- Ensure color consistency across all angles
- Enhance product details without introducing artifacts
- Adjust saturation and vibrance to highlight key product features
Use adjustment layers or masks to target specific areas without affecting the entire image.
Enhancing 360-Degree Images with AI Technology
360-degree photography often requires balancing file size with image quality, as each view typically comprises 24-36 separate images. This is where AI image enhancement technology like Mind Render AI becomes invaluable to the process.
Understanding Image Resolution Challenges
360-degree product views face unique resolution challenges:
- Higher resolution improves zoom capabilities but increases loading times
- Compression can introduce artifacts that become noticeable during rotation
- Maintaining detail consistency across frames is essential for a professional look
Traditional resizing methods often result in blurry details or introduce artificial sharpening artifacts that reduce image quality.
AI Upscaling Benefits for 360-Degree Photography
Mind Render AI offers several advantages specifically relevant to 360-degree photography:
- Detail preservation: AI upscaling maintains fine product details even at higher magnification levels
- Texture enhancement: Advanced algorithms can enhance fabric textures, surface details, and material properties
- Artifact removal: AI processing can reduce JPEG artifacts, noise, and minor imperfections
- Consistent results: Batch processing ensures all frames maintain the same level of enhancement
AI upscaling allows you to start with smaller, more manageable original files while still delivering high-resolution final results.
Implementing AI Enhancement in Your Workflow
Integrate AI upscaling into your 360-degree photography process with these steps:
- Complete basic post-processing adjustments first (color correction, background removal)
- Export images at their original resolution with minimal compression
- Upscale images using Mind Render AI, selecting appropriate enhancement settings
- Maintain consistent processing parameters across all frames
- Review the enhanced sequence to ensure seamless transitions between frames
For detailed guidance on specific enhancement techniques, refer to Mind Render AI's comprehensive guides section.
Common Challenges and Solutions
Even experienced photographers encounter challenges with 360-degree product photography. Here are solutions to the most common issues:
Reflection Management
Reflective products like jewelry, glassware, or electronics present unique challenges:
- Use polarizing filters on both lights and camera to control reflections
- Create a "reflection environment" with white cards or a light tent
- Consider composite photography for highly reflective items, capturing different parts under optimal conditions
- Use focus stacking for products with both reflective and matte surfaces
Maintaining Product Stability
Product movement between frames disrupts the rotation effect:
- Use museum gel or other non-marking adhesives to secure products to the turntable
- For clothing items, use invisible mannequins or support structures
- Consider specialized product holders that can be easily removed in post-processing
- Shoot at higher shutter speeds to minimize vibration effects
Color Consistency Across Frames
Ensuring consistent color as products rotate requires careful attention:
- Use manual white balance with a gray card rather than auto white balance
- Ensure lighting equipment has consistent color temperature (avoid mixing light types)
- Monitor for color shifts caused by product surfaces reflecting colored elements in the studio
- Process all images with synchronized settings to maintain consistency
Handling Complex or Unusual Products
Unusual product shapes or sizes require creative approaches:
- For very large products, consider using the camera rotation method instead of a turntable
- For tall products, use a vertical panoramic approach with multiple rows of images
- For collection items (like a furniture set), consider 360-degree room views with hotspots
- For very small products, combine 360-degree views with macro photography for detail views
Displaying 360-Degree Product Photos Online
Capturing great 360-degree images is only the first step—implementing them effectively on your website is equally important:
360-Degree Viewer Solutions
Several options exist for displaying your 360-degree product views:
- JavaScript-based viewers: Lightweight solutions like 360-degree Product Viewer or Cloud Zoom
- Platform-specific apps: Shopify, WooCommerce, and other e-commerce platforms offer dedicated 360-degree view applications
- Custom implementations: For specific requirements, custom JavaScript solutions can be developed
- Hosted services: Third-party services that host and serve your 360-degree views with minimal integration
When selecting a viewer, consider loading speed, mobile compatibility, zoom capabilities, and customization options.
Optimizing Load Times and Performance
Balance quality and performance with these strategies:
- Implement progressive loading to display low-resolution versions first
- Use CDN (Content Delivery Network) distribution for faster global access
- Consider image format options (WebP for modern browsers, JPEG fallbacks)
- Optimize file sizes based on typical viewing devices and bandwidth
Implementation Best Practices
Enhance the user experience with these implementation techniques:
- Add visual cues that indicate the interactive nature of the 360-degree view
- Implement intuitive controls (drag to rotate, pinch to zoom)
- Consider autoplay rotation for initial view, then user control for exploration
- Add hotspots to highlight key product features
- Ensure accessibility compliance for all users
Measuring the Impact of 360-Degree Photography
Quantify the return on your 360-degree photography investment:
Key Performance Metrics
Track these metrics to measure the effectiveness of your 360-degree product views:
- Engagement time: How long users interact with 360-degree views compared to static images
- Conversion rate impact: Compare product pages with and without 360-degree views
- Return rate differences: Measure if products with 360-degree views have lower return rates
- Heat mapping: Analyze which product angles receive the most attention
A/B Testing Strategies
Implement systematic testing to optimize your approach:
- Test different implementation styles (auto-rotate vs. user-initiated)
- Compare different frame counts to balance smoothness and loading time
- Evaluate the impact of enhanced vs. standard resolution images
- Test the placement and prominence of 360-degree views on product pages
Use these insights to continuously refine your 360-degree photography strategy and maximize ROI.
Conclusion
360-degree product photography represents a significant evolution in how businesses present products online, bridging the gap between digital browsing and physical shopping experiences. When executed properly, it provides customers with the confidence to make purchasing decisions by offering comprehensive visual information that static images simply cannot deliver.
As we've explored throughout this guide, creating professional 360-degree product photography involves careful attention to equipment selection, studio setup, shooting technique, and post-processing workflows. The integration of AI enhancement technology like Mind Render AI takes these already powerful visuals to the next level, providing unprecedented detail and clarity while maintaining practical file sizes.
While implementing 360-degree product photography requires an initial investment in equipment and workflow development, the potential returns—increased conversion rates, reduced returns, and enhanced customer satisfaction—make it a compelling strategy for e-commerce businesses of all sizes.
Start with a single product category to refine your process, measure the impact, and then expand your 360-degree photography program based on the data-driven results. As you gain experience, you'll develop efficiencies that make the process increasingly cost-effective while continuing to differentiate your product presentations from competitors still relying on traditional static imagery.
Ready to transform your product photography with professional-quality enhancements? Sign up with Mind Render AI today and discover how our powerful AI upscaling technology can take your 360-degree product images to the next level. Our flexible subscription plans and credit-based system ensure you only pay for what you need, while our commitment to privacy keeps your product images secure. Explore our comprehensive guides and download options to get started immediately.